 1")
Your Roadside Guide – How To Change A Tire And Keep Your Vehicle Safe
Learn essential car maintenance skills to handle flat tires and drive with confidence.
Just think of it… You are driving along the highway on a rainy evening, miles away from the nearest service station, when you suddenly hear that unmistakable, rhythmic thudding sound. Your steering wheel pulls heavily to one side, and your dashboard lights up. You have a flat tire.
A flat tire is one of the most common, unpredictable disruptions an ordinary driver faces. Whether it is caused by a stray nail, a deep pothole, or a sudden blowout, knowing how to change a tire is a fundamental aspect of car maintenance and essential knowledge for any car emergency. It is the difference between being stranded for hours waiting for roadside assistance and safely getting back on the road under your own power.
This comprehensive, 3,000-word roadmap provides a complete, step-by-step breakdown of how to handle this standard roadside challenge.
Victory Lube, as your vehicle maintenance partner, will cover necessary automotive tools, precise step-by-step procedures, crucial vehicle safety guidelines, and the essential post-change tire repair and maintenance protocols that keep your vehicle running smoothly.
Anatomy Your Wheel Assembly – The Core Components & Tools
Before you find yourself stranded on the shoulder, you need to understand the structural layout of your vehicle’s wheel assembly and the specific tools required for automotive repair.
| Wheel Component | Mechanical Position | Role in Vehicle Safety & Function |
| Wheel Rim | The metal outer ring | Holds the rubber tire in place and mounts onto the axle. |
| Wheel Hub | The central mounting core | Houses the wheel bearing and acts as the foundation for the entire wheel structure. |
| Brake Rotor | Positioned directly behind the rim | The metal disc that the brake pads clamp onto to slow your vehicle down. |
| Wheel Studs | Hardened steel bolts extending from the hub | The threaded pins that your wheel rim slides onto during installation. |
| Lug Nuts | Fasteners were screwed onto the studs | Securely clamp the wheel rim flush against the wheel hub face. |
| Tire Valve Stem | Protrudes through the outer rim | The manual port is used to check tire pressure and manage overall tire inflation. |
The Mechanical Components
To understand how to change a tire, you must first understand what holds your wheel to your car. Your vehicle rides on a heavy metal wheel rim, which houses the rubber tire. This rim features a series of holes that slide directly onto threaded wheel studs extending from the wheel hub. The wheel hub sits flush against the brake rotor or brake drum assembly.
Securing the entire apparatus together are the lug nuts. These heavy-duty fasteners twist onto the studs, pinning the wheel rim tightly to the vehicle’s rotating assembly. Protecting these parts from debris and salt is often achieved with a removable hubcap or wheel cover. Inside the wheel assembly sits the wheel bearing, a set of steel balls or rollers that allows the wheel to spin freely with minimal friction.
Finally, protruding through the rim is the rubber tire valve stem, which lets you monitor tire inflation and manage overall tire pressure.
The Essential Tools Checklist
Every driver must carry a fully stocked emergency roadside kit containing high-quality automotive tools. Never rely on cheap, flimsy alternatives when your vehicle safety is on the line. Ensure your trunk contains the following items:
- Spare Tire – Your primary backup. It must have adequate tire tread and proper tire pressure to support your car’s weight.
- Jack – A mechanical device used to lift the vehicle off the ground. Most factory setups include a basic scissor jack, though a hydraulic jack provides much faster and smoother lifting action.
- Jack Stand – While a jack lifts the vehicle, a jack stand physically supports the weight during static maintenance. Never put your body under a car supported only by a temporary jack.
- Lug Wrench or Tire Iron – A heavy L-shaped or X-shaped metal wrench used to loosen and tighten the lug nuts.
- Torque Wrench – A specialized tightening tool used to torque lug nuts to exact manufacturer specifications, preventing wheel damage.
- Wheel Chock – A wedge-shaped block placed against the tires to stop the vehicle from rolling while raised.
- Tire Repair Kit / Puncture Repair Tools – A collection of plugs and seals used for basic puncture repair if the tire damage is minor.
- Air Compressor – A portable, 12V-powered pump to handle roadside tire inflation tasks.
Setting the Scene to Change a Tire – Vehicle Safety and Preparation Protocols
An emergency tire change is a mechanical process, but your primary concern must always be safety. Working on the side of a busy road carries inherent risks. Before grabbing your tire iron, you must stabilize the scene.
Finding a Safe Location to Pull Over
The moment you realize your tire is losing air, do not panic or slam on the brakes. Drive slowly and look for a wide, flat, and stable location.
Critical Safety Rule – Never attempt to change a tire on a steep hill, on soft dirt, or on an unpaved shoulder. The weight of the vehicle will sink the hydraulic jack or scissor jack into the ground, causing the car to slip off its support and creating a catastrophic structural failure.
Find a paved, level surface as far away from the traffic lanes as possible. If you are on a busy highway, trying to reach the next exit ramp is often safer than changing the tire on a narrow shoulder, even if driving slowly damages the bad wheel rim.
Stabilizing the Vehicle
Once you have parked on flat ground, follow these safety steps immediately:
- Engage the Parking Brake – This locks the rear wheels mechanically, preventing the car from rolling forward or backward.
- Set the Transmission – Put your vehicle in Park (P) for automatic transmissions, or First Gear / Reverse for manual gearboxes.
- Activate Hazard Lights – Turn on your four-way emergency flashers so oncoming traffic can see your vehicle from a distance.
- Deploy Your Wheel Chocks – Place a wheel chock firmly against the rubber of the tires at the opposite end of the car from the flat. If your front tire is flat, place the chocks behind your rear tires. If your rear tire is flat, place the chocks in front of your front tires. This blocks any rocking motion while lifting the vehicle.
Wheel Chock Placement Guide
| Flat Tire Location | Vehicle Status | Jack Action | Proper Wheel Chock Placement | Safety Purpose |
| Front Tire (Left or Right) | Rear wheels remain firmly on the ground | Lift the Front of the vehicle using the designated pinch weld jack points | Place chocks behind both rear tires | Blocks backward rolling momentum while the front end is airborne. |
| Rear Tire (Left or Right) | Front wheels remain firmly on the ground | Lift the Rear of the vehicle using the designated pinch weld jack points | Place chocks in front of both front tires | Blocks forward rolling momentum, securing the car against transmission slip. |
Conducting a Pre-Lift Vehicle Inspection
Open your trunk and pull up the floor panel to access your backup equipment. Before doing anything else, perform a quick vehicle inspection of your gear. Check the tire pressure of your spare tire using a reliable gauge. A flat spare is completely useless. Ensure that your hydraulic jack flows smoothly and that your tire repair kit is complete.
If your car features a decorative hubcap or plastic wheel cover over the lug nuts, use the flat end of your tire iron to gently pry it away from the wheel rim. Set it aside face-up to avoid scratching the finish.
Step-by-Step Guide – How to Change a Tire Safely
With your vehicle anchored and your tools arranged, you are ready for the core procedure. Follow these steps carefully to ensure a seamless swap.
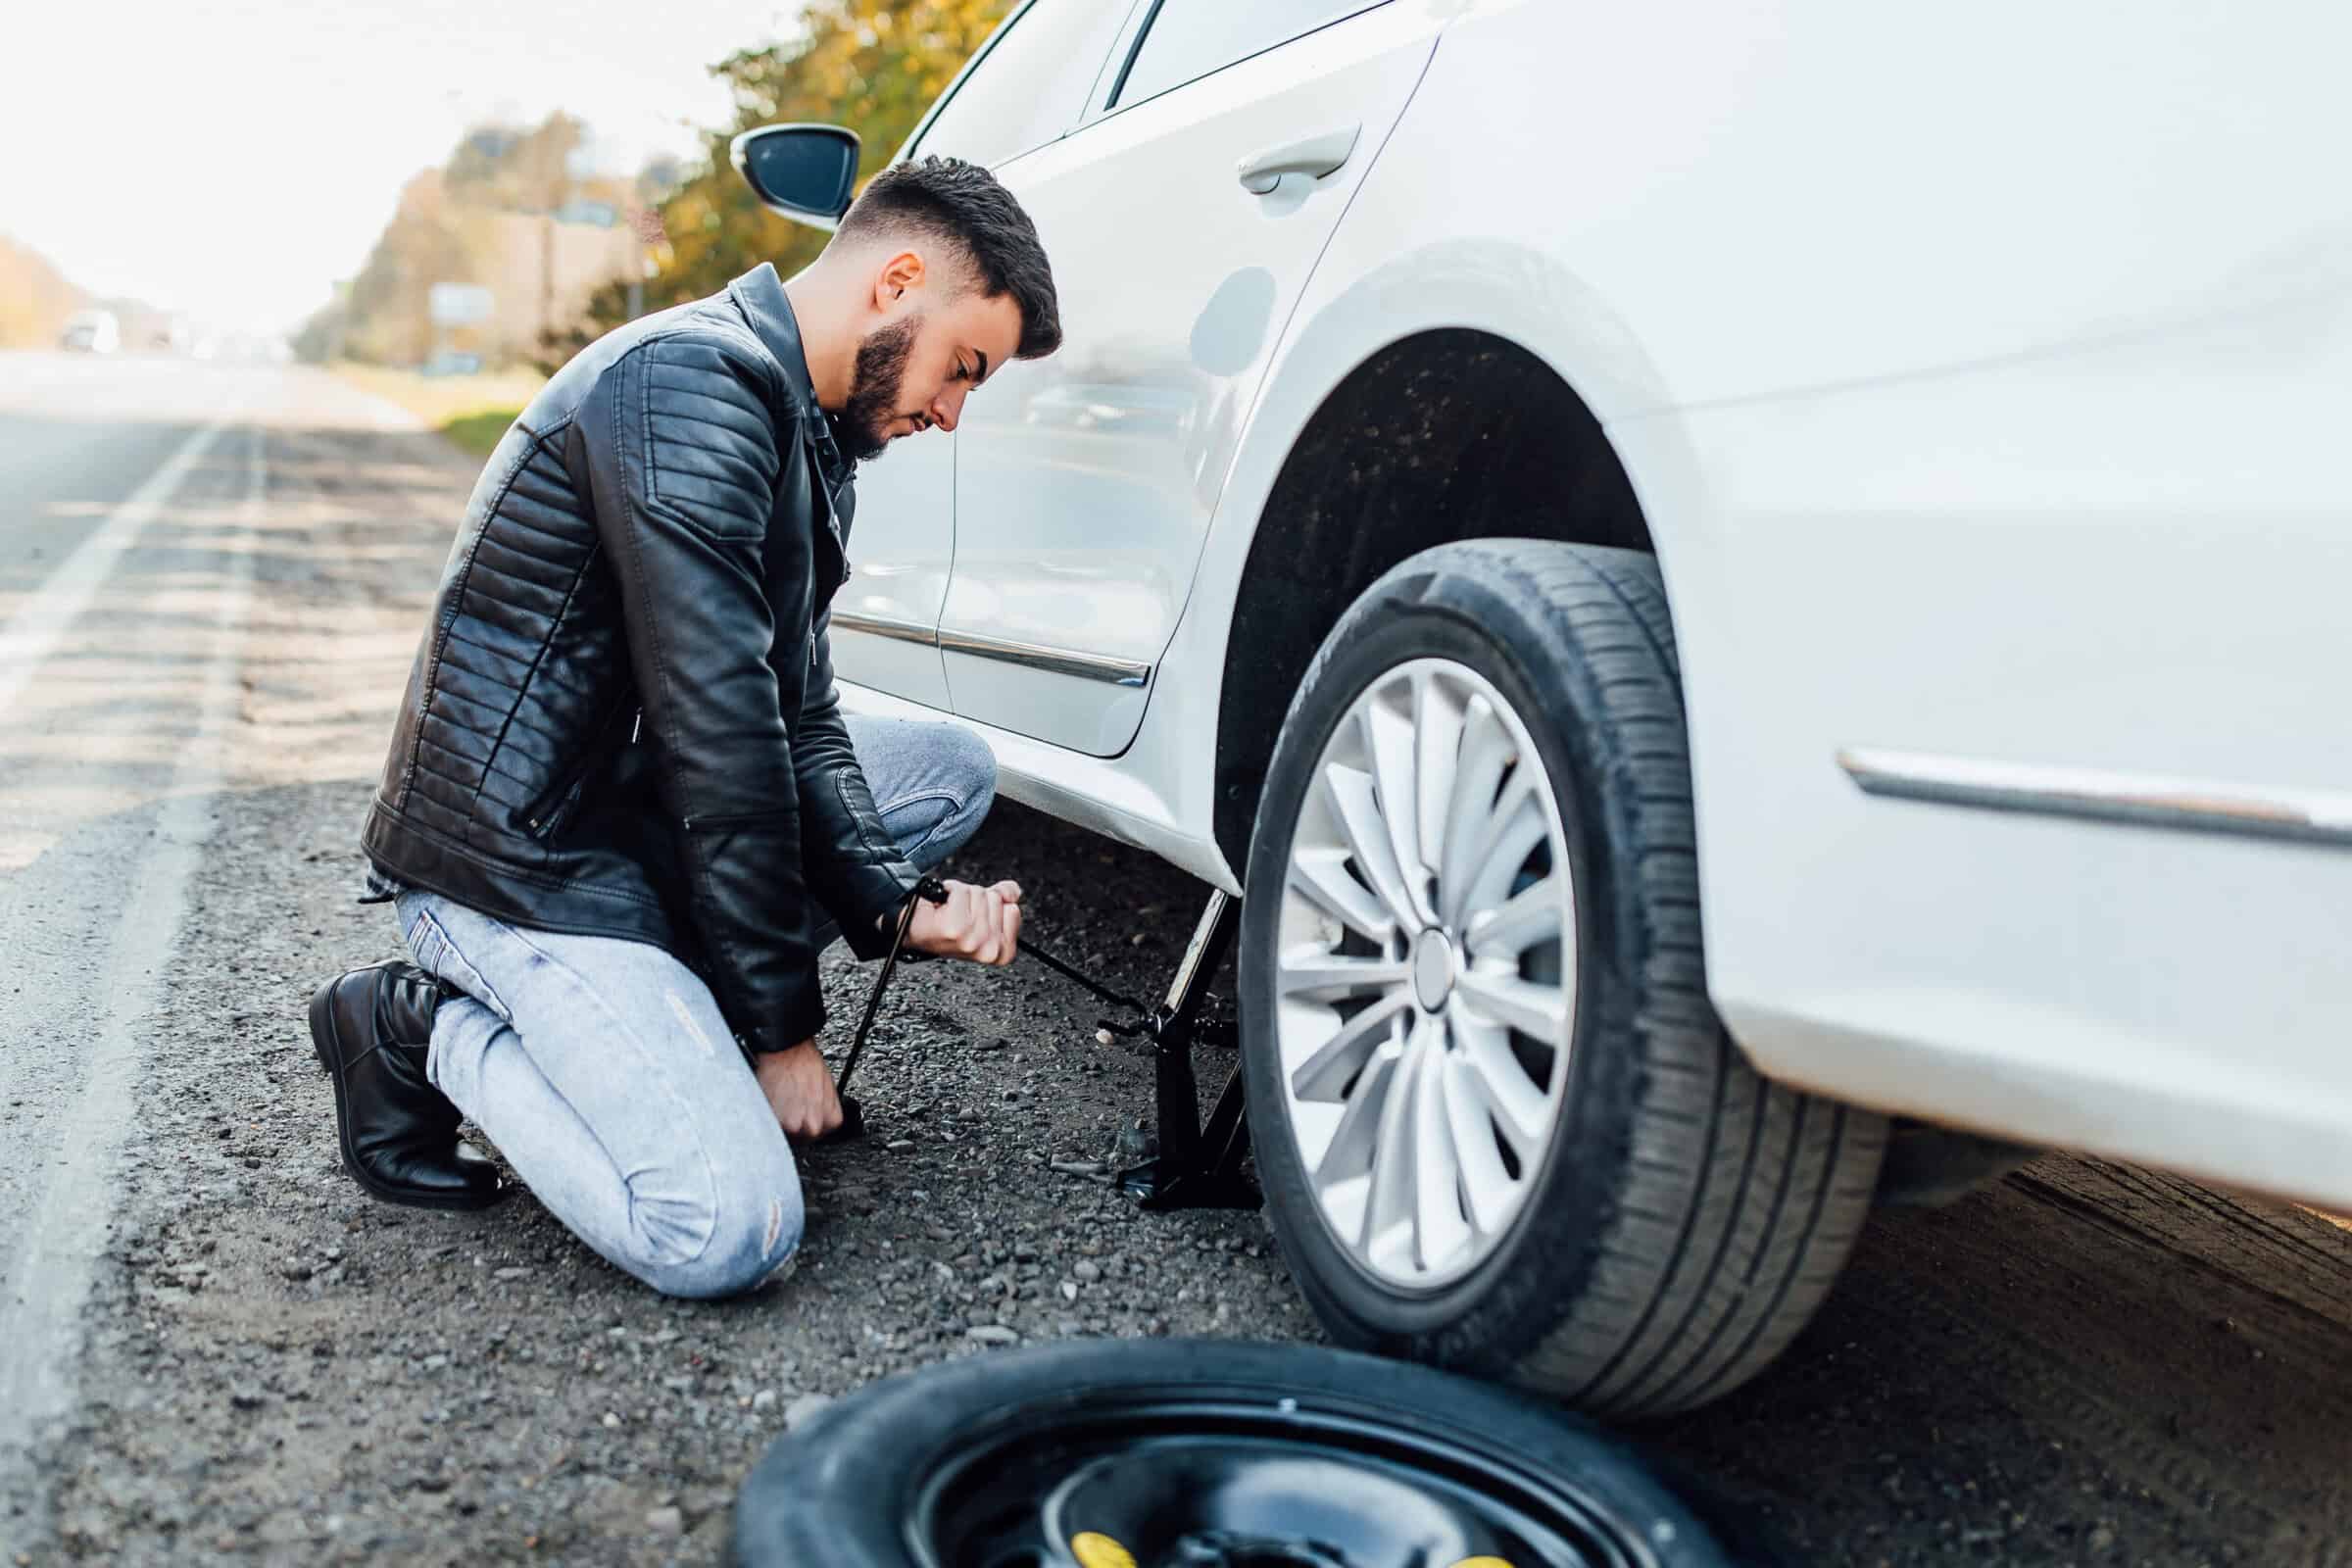
Step 1 – Loosen the Lug Nuts (While on the Ground)
Take your tire iron and fit it securely over your first lug nut. Turn the wrench counterclockwise to break the initial resistance.
Important Mechanical Principle – You must break the tension on the lug nuts before you lift the vehicle into the air. If you try to loosen them while the wheel is raised, the wheel will simply spin in place, and the sheer force required could rock the car right off the jack.
Do not remove the nuts completely at this stage; turn them roughly one full rotation until they move easily. If a nut is rusted or over-tightened, carefully apply downward foot pressure to the horizontal wrench arm, using your body weight to break the corrosion.
Step 2 – Proper Jack Placement and Lifting
Consult your vehicle’s owner’s manual to find the designated structural lifting points. These are reinforced metal notches along the frame, usually located just behind the front wheel wells or ahead of the rear wheel wells.
Undercarriage Jack Point Guide
| Target Wheel | Correct Jack Placement Location | Structural Frame Marker | Proper Setup Action |
| Front Wheel Flat | Just behind the front wheel well | Pinch Weld (Reinforced metal flange running along the underside of the frame) | Center the jack head directly under the notch on the metal flange. |
| Rear Wheel Flat | Just ahead of the rear wheel well | Pinch Weld (Reinforced metal flange running along the underside of the frame) | Center the jack head directly under the notch on the metal flange. |
Position your jack directly beneath this reinforced frame notch. Slowly pump the hydraulic jack or spin the scissor jack handle clockwise. As the head makes contact with the vehicle’s frame, check that it aligns perfectly with the lifting notch.
Continue raising the vehicle smoothly until the damaged tire sits approximately six inches off the ground. This height gives you enough clearance to remove the flat tire and mount a fully inflated spare. Slide your jack stand under the frame next to the jack as a secondary safety measure, and lower the vehicle slightly until it rests securely on the stand.
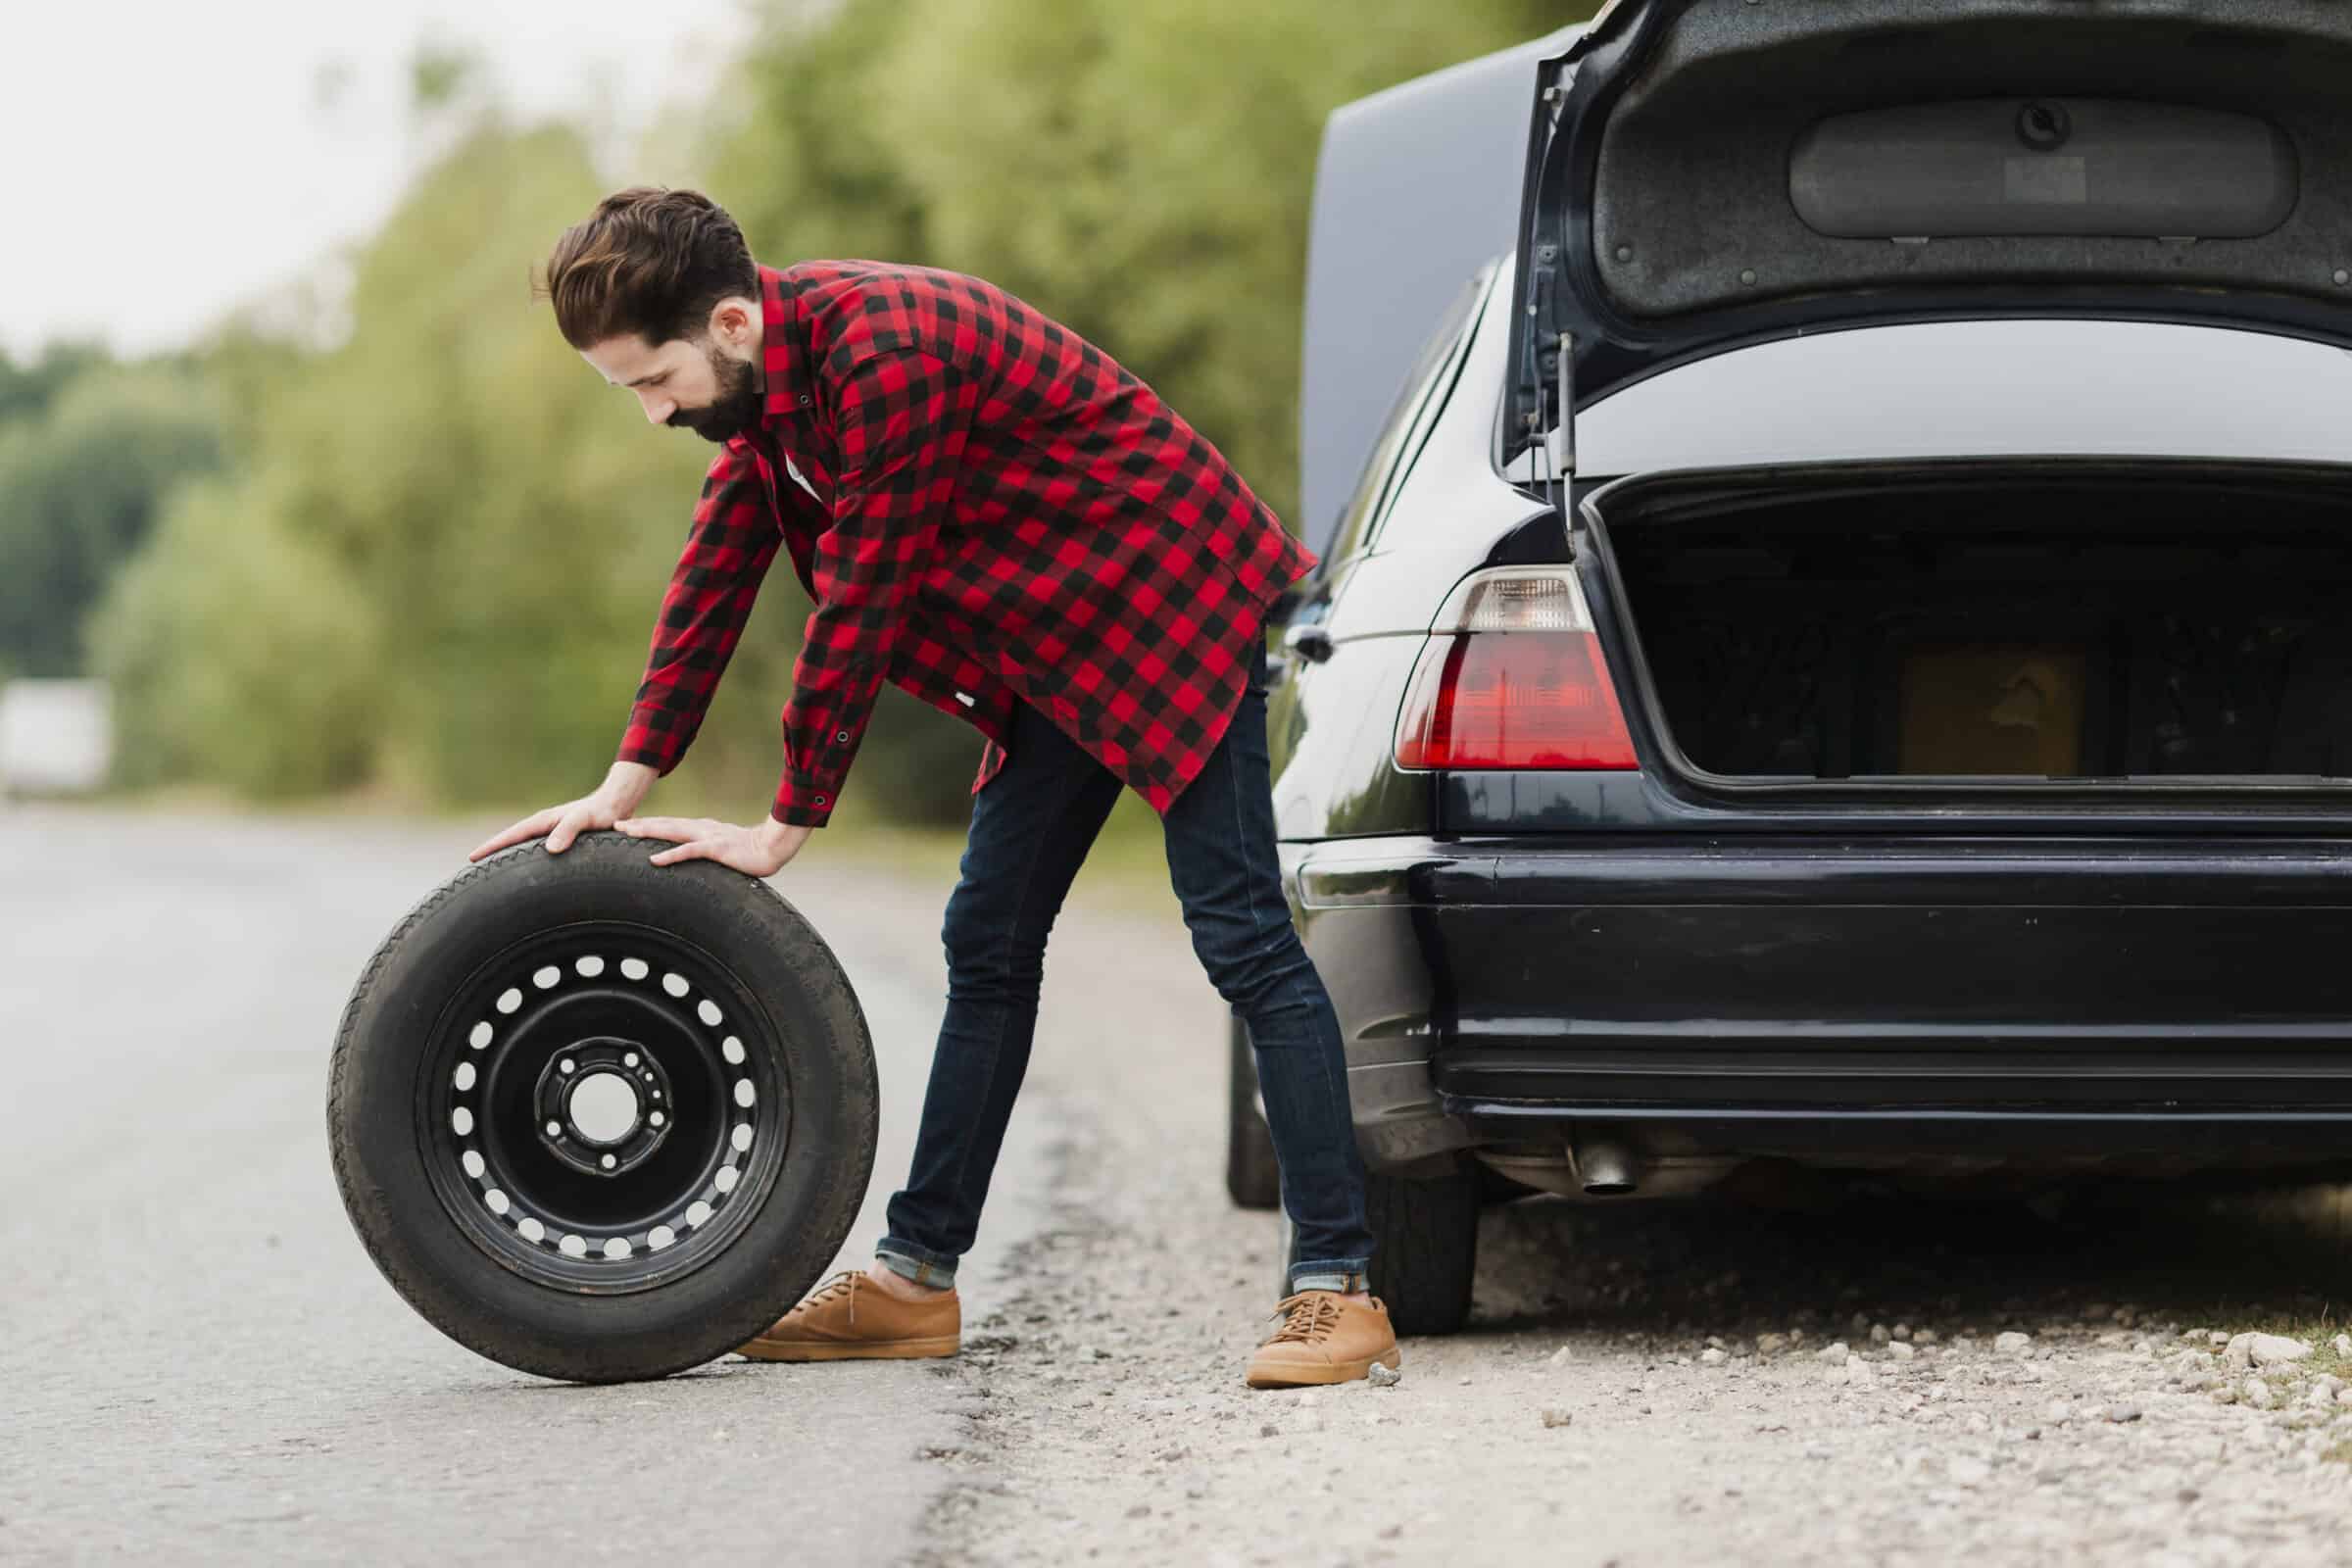
Step 3 – Removing the Flat Tire
With the vehicle stabilized on the stand, twist the loosened lug nuts the rest of the way off by hand. Place them safely inside your upturned hubcap or a secure pocket so they do not roll away into the grass or a storm drain.
Grasp the flat tire firmly by the outer edges of the rubber tread. Pull it straight toward your body to slide the wheel rim off the threaded wheel studs. Because wheels can freeze to the wheel hub due to rust and road grime, you may need to give the rubber edge a firm tap with your hand to break it free from the brake rotor surface. Set the flat tire flat on the ground nearby.
Step 4 – Mounting the Spare Tire
Lift your spare tire and align the holes of the internal wheel rim with the exposed wheel studs on the hub assembly.
Spare Wheel Alignment & Mounting Reference
| Step Component | Description & Location | Key Action Items | Mechanical Alignment Goal |
| 1. The Mounting Base | Wheel Hub Assembly | Keep the hub area clear of loose dirt and rust flakes before lifting the new wheel. | Ensures a flat, flush fit against the brake rotor. |
| 2. The Anchors | Exposed Wheel Studs | Lift the spare wheel and look through the rim openings to line them up with the studs. | Prevents cross-threading or bending the studs during installation. |
| 3. The Mount | Spare Wheel Rim | Slide the wheel completely onto the studs until it sits deeply against the hub face. | Minimizes wheel wobble before you start threading the lug nuts on by hand. |
Slide the wheel back onto the studs until it rests flush against the face of the brake rotor. Pick up your lug nuts and thread them onto the studs by hand, turning them clockwise.
Tighten each nut by hand until it is snug against the rim. Avoid using your heavy wrench to crank down on the nuts while the car is still raised; doing so can destabilize the vehicle on its stands. Your goal here is simply to make sure the wheel sits straight and flat against the mounting hub.
Step 5 – Lowering the Vehicle and Final Torque Execution
Carefully raise the vehicle slightly to slide the jack stand out from under the chassis. Slowly turn the pressure valve of your hydraulic jack counter-clockwise to lower the vehicle until the new tire touches the ground and holds enough weight to prevent spinning, but do not lower the full weight of the car onto the suspension just yet.
Take your torque wrench or standard tire iron and tighten the nuts completely using a strict star pattern.
5-Lug Nut Star Pattern Tightening Order
| Tightening Step | Lug Nut Position | Core Action Instruction | Mechanical Purpose |
| Step 1 | Top Nut (1) | Snug down the top nut firmly with your tire iron. | Sets the initial vertical anchor point for the wheel rim. |
| Step 2 | Bottom Left Nut (2) | Skip the adjacent nuts and move directly down and across to tighten position (2). | Pulls the bottom half of the rim flush against the wheel hub. |
| Step 3 | Upper Right Nut (3) | Cross over diagonally to the upper right side to tighten position (3). | Balances the lateral tension across the mounting face. |
| Step 4 | Upper Left Nut (4) | Move straight across horizontally to tighten the upper left position (4). | Secures the final top corner, keeping the wheel from shifting. |
| Step 5 | Bottom Right Nut (5) | Cross down diagonally to finish with the remaining bottom right nut (5). | Completes the seal, ensuring even pressure across the wheel bearing. |
Never tighten adjacent nuts one after another. By skipping across the wheel in a star or cross shape, you apply pressure evenly across the wheel hub face. This prevents the rim from warping, protects the wheel bearing, and ensures a perfectly flush match.
Once the star pattern is complete, lower the car fully to the ground and remove the jack completely. Give each nut one final check with your wrench to ensure they are fully secured.
Once you lower the vehicle completely to the ground, use your torque wrench to repeat this exact 1-2-3-4-5 sequence a second time. This guarantees that every lug nut is tightened equally to the manufacturer’s exact safety specifications.
Troubleshooting & Handling Roadside Complications While Changing a Tire
Even with perfect preparation, real-world conditions can introduce unexpected mechanical challenges. Knowing how to handle these issues safely keeps an inconvenience from becoming an emergency.
Frozen Lug Nuts
If a nut refuses to budge, never slam on your wrench with a hammer or heavy object. This can strip the metal edges or snap the hardened steel wheel studs clean off, requiring expensive automotive repair work. Instead, try using a dedicated penetrating fluid like WD-40, spraying it directly onto the threads of the stud. Let it sit for 5 to 10 minutes to dissolve the rust before trying again.
Alternatively, you can lengthen your wrench handle with a hollow metal pipe (often called a cheater bar) to safely increase your leverage.
Rusted-On Wheels
Sometimes, even after removing all the nuts, the wheel remains completely stuck to the wheel hub because of galvanic corrosion between the aluminum rim and steel rotor. If this happens:
- Ensure your vehicle is supported firmly on its jack stand.
- Give the outer edge of the rubber tire tread a firm kick with the heel of your boot.
- The impact should break the rust seal, allowing you to slide the wheel off the studs safely.
Stripped Threads or Rounded Nuts
If a previous service shop over-tightened your fasteners with an air impact gun, you might round off the corners of a nut or strip the underlying threads. If your wrench slips and rounds the edges, stop immediately.
Continuing will only wear away more metal, making removal impossible with roadside tools. In these situations, your safest option is to stop and call for professional roadside assistance to avoid damaging your vehicle’s steering or suspension components.
The Aftermath – Temporary Spares and Permanent Solutions
Once your spare is successfully mounted and your tools are packed, your job is only half done. A temporary tire is exactly that – temporary. You must manage your driving habits carefully until you reach a service shop.
Understanding the Limits of a Donut
Most modern passenger vehicles carry a compact temporary spare tire, commonly known as a donut. These tires are significantly smaller, narrower, and lighter than your standard road tires, and they feature shallow Tire Tread depths designed purely to save weight and space in your trunk.
Compact Spare (Donut) Driving Limits
| Operational Metric | Maximum Safe Limit | Immediate Roadside Risk | Long-Term Mechanical Impact |
| Maximum Speed | 80 km/h (50 mph) | Higher speeds cause extreme friction and rapid heat buildup, risking an immediate blowout. | Alters overall vehicle stability, braking performance, and cornering traction. |
| Maximum Distance | 100 km (62 miles) | Driving past this range increases the likelihood of secondary tread separation on the narrow spare. | Puts severe mechanical stress on your transmission, axle, and wheel bearing assemblies. |
| Required Inflation | 60 PSI | Under-inflation causes the small rim to pinch, flattening the tire completely on small bumps. | Fails to properly support the heavy curb weight of your vehicle’s chassis frame. |
Because a donut lacks the structural footprint of a standard tire, it reduces your car’s overall traction, alters handling, and increases braking distances. Driving on a compact spare for extended periods puts extra mechanical stress on your differential and wheel bearing assemblies. Treat it as a temporary bridge to get you directly to a proper garage.
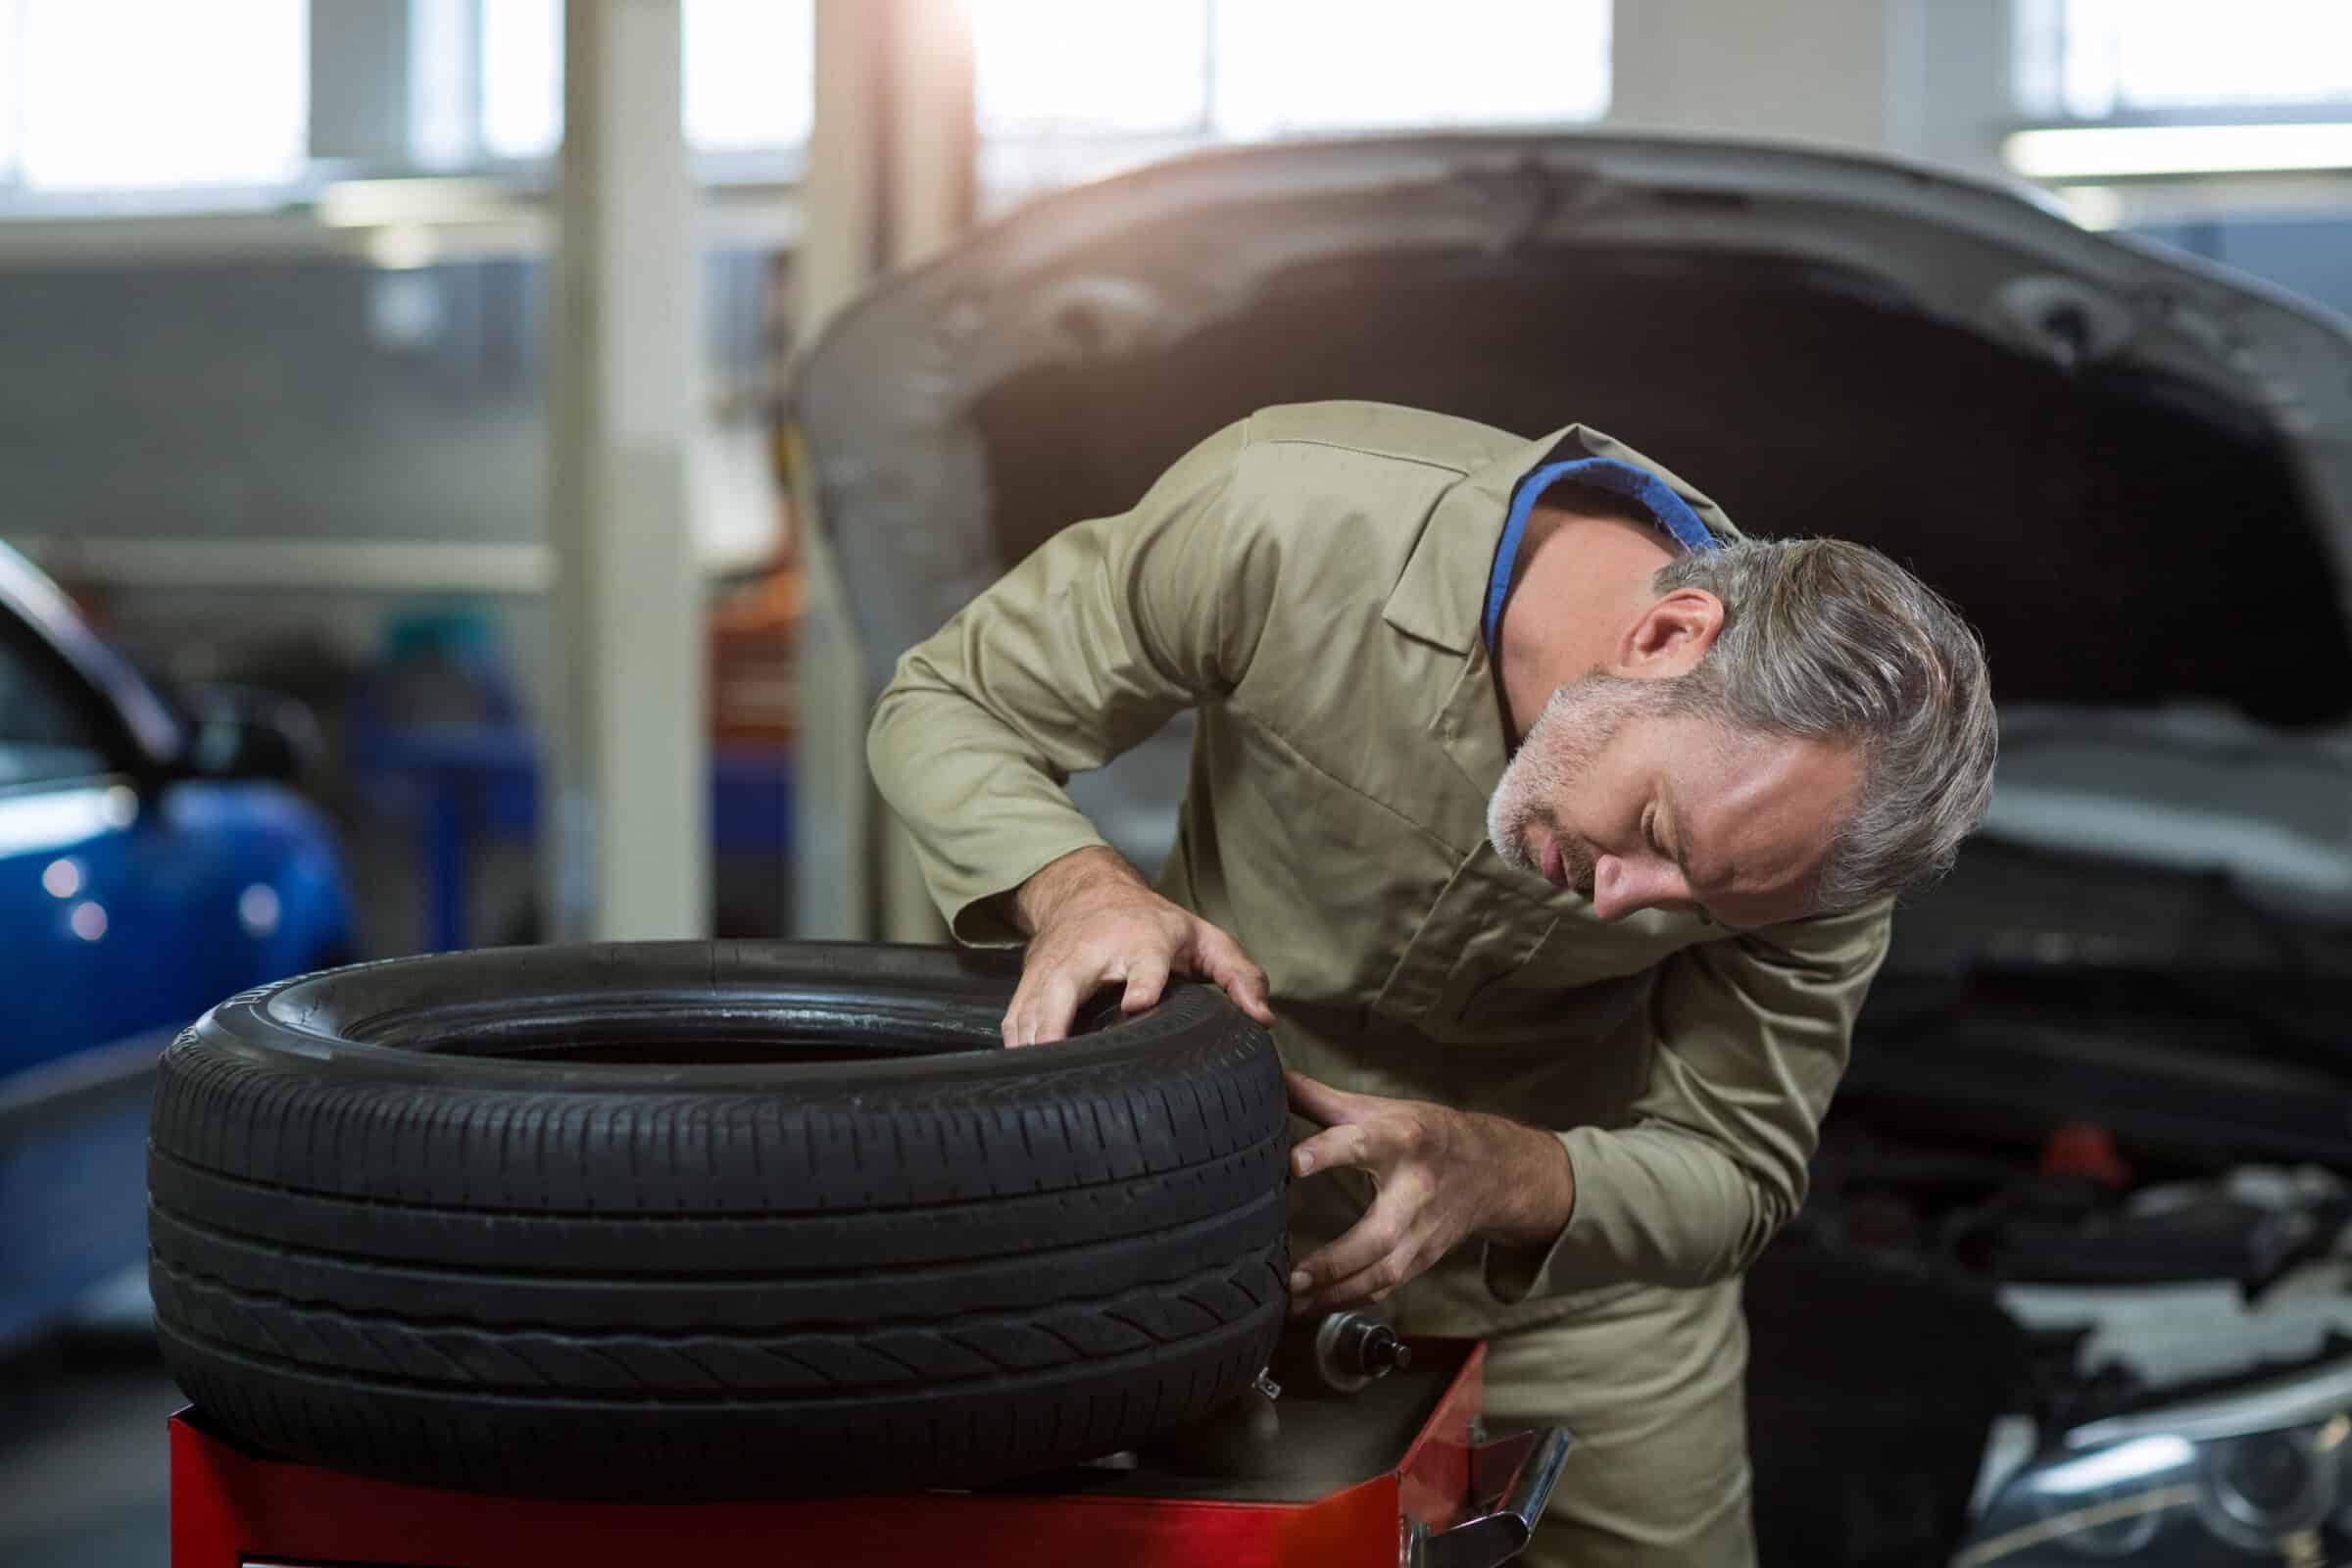
Professional Assessment of Your Tire – Repair vs. Full Replacement
When you bring your damaged tire to a professional facility, a technician will run a detailed vehicle inspection to decide between a simple tire repair and a total replacement.
Tire Damage Evaluation: Repair vs. Full Replacement
| Damage Location | Structural Zone Type | Professional Service Action | Structural & Safety Reason |
| Central Tread Center | Solid Steel Belts | Safe for Tire Repair | This flat surface is reinforced with steel belts. A plug-and-patch kit easily seals punctures less than 1/4 inch wide. |
| Sidewall or Shoulder | High-Stress Flex Zone | Requires Full Replacement | The sidewall flexes constantly under the vehicle’s weight. A patch cannot hold here and will cause a dangerous blowout. |
A standard puncture repair is safe if the puncture is less than 1/4 inch in diameter and is located squarely within the central tread area. This type of damage can be permanently sealed using an internal plug-and-patch combination.
However, if the puncture occurs in the tire’s sidewall or shoulder area, a safe patch is impossible. The sidewall experiences constant flexing as the car handles curves and rolls over bumps; an isolated patch will eventually fail under this stress, leading to a dangerous blowout. In these instances, you must replace the tire to ensure your ongoing vehicle safety.
Proactive Tire Health – Maintenance and Flat Prevention
The best way to handle a roadside flat tire is to prevent it from happening in the first place. Incorporating a few simple checkups into your monthly car maintenance routine will drastically extend your tires’ life and keep you safe on the highway.
The Value of Regular Tire Inflation Checks
Tires naturally lose compressed air over time through microscopic pores in the rubber and changes in outside temperatures. Driving on under-inflated tires increases rolling resistance, which creates excessive internal heat and accelerates wear along the outer shoulders of your tire tread.
Check your cold tire pressure once every month using a dependable gauge, and adjust the levels using an air compressor to match the ratings listed on the sticker inside your driver-side door jamb.
Tire Installation and Rotation Schedules
To ensure even wear across all four wheels, routine tire installation and rotation services are critical. On front-wheel-drive vehicles, the front tires handle all steering forces and most braking and acceleration loads, causing them to wear out much faster than the rear set.
Rotating your tires every 8,000 to 10,000 kilometres balances this wear across the set, extending their lifespan and maintaining balanced traction. Pair this rotation with a professional wheel alignment check every year to make sure your suspension components are straight, preventing uneven tracking and premature tire failure.
When you need specialized care, the team at Victory Lube is here to keep your vehicle running smoothly. From precision pressure diagnostics and expert tire plugs to routine rotations and complete tire installations, our certified technicians provide quick, reliable care tailored to your vehicle’s needs. Explore our comprehensive Tire Services options, or browse our extensive selection of top-tier Tires to find the perfect fit for your car.
Putting It All Together – The Essential Trunk Checklist
To make sure you are never left unprotected on the road, review this reference table of required tools and recommended additions for your trunk’s emergency kit.
| Essential Tool | Primary Field Function | Pro Maintenance Practice |
| Spare Tire | Provides a backup rolling wheel assembly | Check inflation pressure monthly; match vehicle spec |
| Hydraulic Jack | Lifts the vehicle chassis safely off the ground | Keep moving joints lubricated and free of rust |
| Tire Iron | Loosens and secures structural lug nuts | Ensure socket sizes match your vehicle’s specific nuts |
| Wheel Chocks | Blocks opposite wheels to prevent rolling | Store in an accessible location near your spare tire |
| Torque Wrench | Sets final nut tightness to exact specifications | Calibrate annually to ensure accurate torque delivery |
| Air Compressor | Manages roadside inflation adjustments | Test the 12V power plug before embarking on long trips |
| Tire Repair Kit | Provides tools for temporary plug seals | Inspect internal rubber cement tubes to ensure they haven’t dried out |
Frequently Asked Questions (FAQ)
1. Can I use an air compressor to fix a flat tire temporarily without changing it?
An air compressor is only helpful if your tire has a slow leak from a minor puncture. If your tire pressure drops because of a major puncture, a torn tire valve stem, or a cracked wheel rim, pumping more air into the tire will not work. The air will escape immediately, and driving on it will ruin your wheel. If the tire cannot maintain stable tire inflation, you must swap it for your spare tire or call for professional roadside assistance right away.
2. Why can’t I use a standard jack to keep my car raised while fixing a tire?
A mechanical scissor jack or a portable hydraulic jack is designed purely to lift your vehicle off the ground, not to hold it steady for long periods. Jacks can lose hydraulic pressure or slip unexpectedly on uneven roads. For true vehicle safety, always slide a dedicated jack stand under the reinforced frame before putting your hands near the wheel. This ensures the heavy vehicle’s weight is mechanically locked in place.
3. What should I do if my regular road tire doesn’t fit in the spare tire storage spot?
Compact spaces under the trunk panel are specifically moulded to fit a small, narrow temporary spare. When you finish your roadside tire installation and rotation, your full-sized flat tire will usually be too wide to fit flush back into that storage tub. Wrap the dirty flat wheel in a garbage bag or old blanket from your emergency roadside kit and place it securely in the main cargo area of your trunk until you reach an automotive repair shop.
4. How can I tell if my flat tire needs a quick puncture repair or a complete replacement?
Whether a tire is saveable depends entirely on where the damage occurred. If a small nail punctures the middle of the tire tread, a technician can use a tire repair kit to plug it safely. However, if the hole is on the tire’s sidewall or shoulder flex zone, it cannot be fixed. The constant twisting and shifting in that area will cause temporary patches to fail, making a full replacement absolutely necessary for safe driving.
5. Do I need a professional wheel alignment after mounting my temporary spare tire?
You do not need an immediate alignment just for driving a short distance on a temporary spare. However, you should definitely request a thorough vehicle inspection and wheel alignment once your permanent tire is repaired or replaced. Driving on a flat tire, even for a brief moment, can easily bump your suspension out of alignment, which causes uneven tire tread wear and hurts your handling down the road.
Driving with Confidence and Peace of Mind
Learning how to change a tire is a crucial skill that transforms a stressful roadside breakdown into a manageable, routine fix. By understanding your vehicle’s wheel hub layout, keeping high-quality automotive tools in your trunk, and following systematic safety steps, you protect yourself and your vehicle wherever you travel.
While knowing how to perform a roadside tire change is a fantastic backup skill, true long-term driving safety depends on consistent, proactive care. Regular inspections, precise wheel balancing, and professional service keep your tires reliable and help prevent roadside emergencies entirely.
If you are located in Ontario, stop by any of our convenient Victory Lube neighbourhood service centers for a complete tire check and peace of mind before your next big drive.
- Our local Falconbridge Team is ready to handle all your regular maintenance needs.
- Heading out past the south end? Visit our Long Lake Service Center for fast, professional tire service.
- Keep your vehicle driving straight and true with a visit to our Midland Technicians.
- Drivers along the line can count on our Sault Ste. Marie Location for reliable inspections and top-tier maintenance.
- Enjoy quick, friendly service right in your community at our Val Caron Location.
For more information about our preventative maintenance programs, contact Victory Lube today. Drive safely, keep your tire pressure balanced, and let our experts handle the heavy lifting!
